Comprehensive Guide to Installing a Ceiling TV Mount


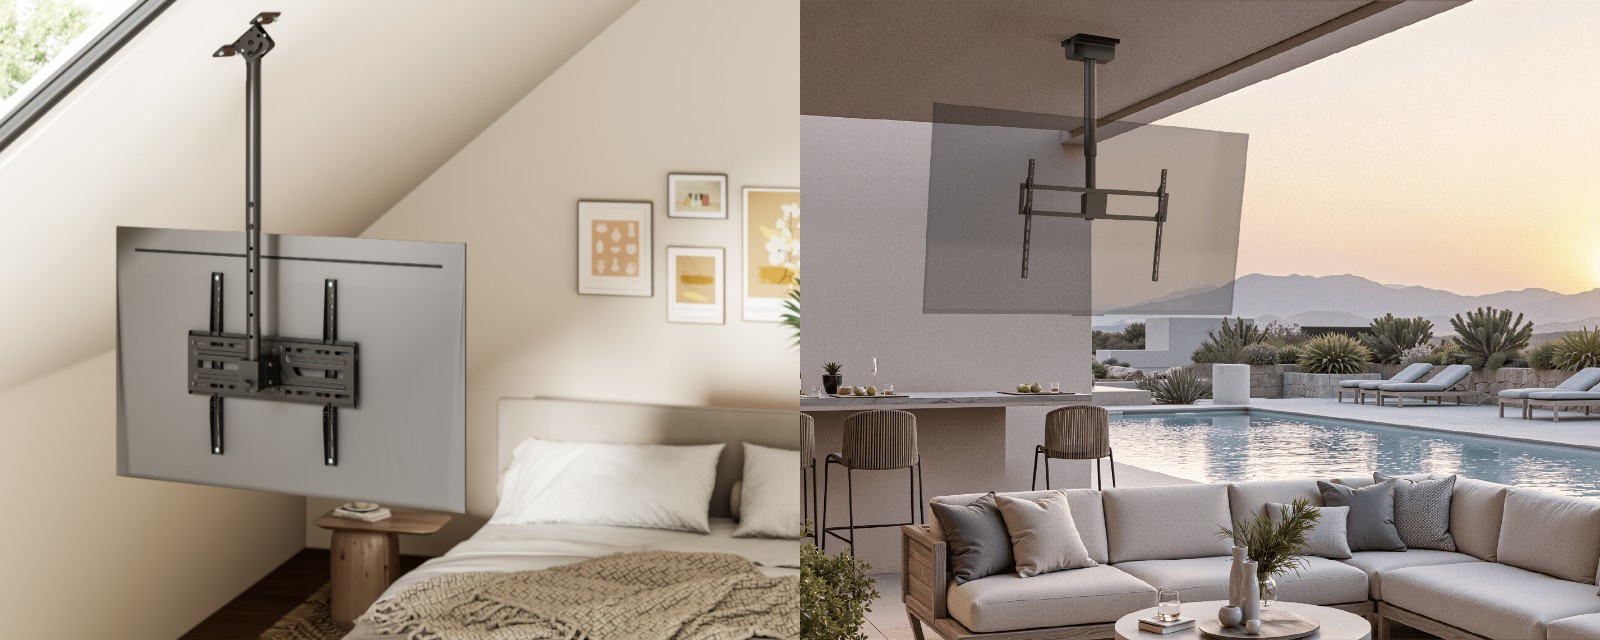
Table of Contents
With the NFL season just around the corner, fall is a great time to rethink how and where you watch the big games. From a backyard patio or outdoor entertaining area to a loft or open living space, a TV doesn’t always need to be placed on a wall. A ceiling TV mount makes it easier to bring the screen to these spaces while saving valuable wall and floor space. This guide covers what to consider before installation and how to install a TV ceiling mount safely and securely.
What to Check Before Installing a Ceiling TV Mount
Check the Ceiling Structure and Type
Wooden studs, concrete, and brick ceilings are generally suitable for a ceiling TV mount, offering a solid base for secure installation. In most cases, drywall, suspended ceilings, and decorative ceiling panels are not suitable for direct mounting due to their limited structural support. Also, check for any power or water cables inside the ceiling.
(Note: If you are unsure whether your ceiling can safely support the TV and mount or where utilities are located, consult a qualified professional to avoid potential damage or personal injury.)
A flat ceiling TV mount is designed for level ceilings only. If your ceiling is sloped or pitched, use a TV ceiling mount with an adjustable ceiling plate that can accommodate the ceiling angle. Never force a flat mounting plate onto an uneven ceiling, as this can compromise the stability and safety of the installation.
Check the Installation Space
Make sure the ceiling height is within the mount’s adjustment range and provides enough clearance for the TV. Also check that the TV can move freely without interfering with doors, ceiling fans, lighting fixtures, or other overhead objects. If the ceiling is too high or the available space is too limited, the location may not be suitable for a TV ceiling mount.
How to Install a Ceiling TV Mount
1. Gather the Tools and Check the Hardware
Depending on the type of ceiling, different hardware are used:
Concrete/Brick Ceilings: Heavy-duty anchors ensure a secure hold.
Wooden Stud Ceilings: Long wood screws offer the best fastening.
You will also need:
✔ Drill & appropriate drill bits
✔ Measuring tape
✔ Pencil
✔ Level
✔ Wrench or socket set
✔ Screwdriver
✔ Stud finder (for wooden ceilings)
2. Find the Optimal Position for Your TV
Before deciding where to place it, consider a few key factors:
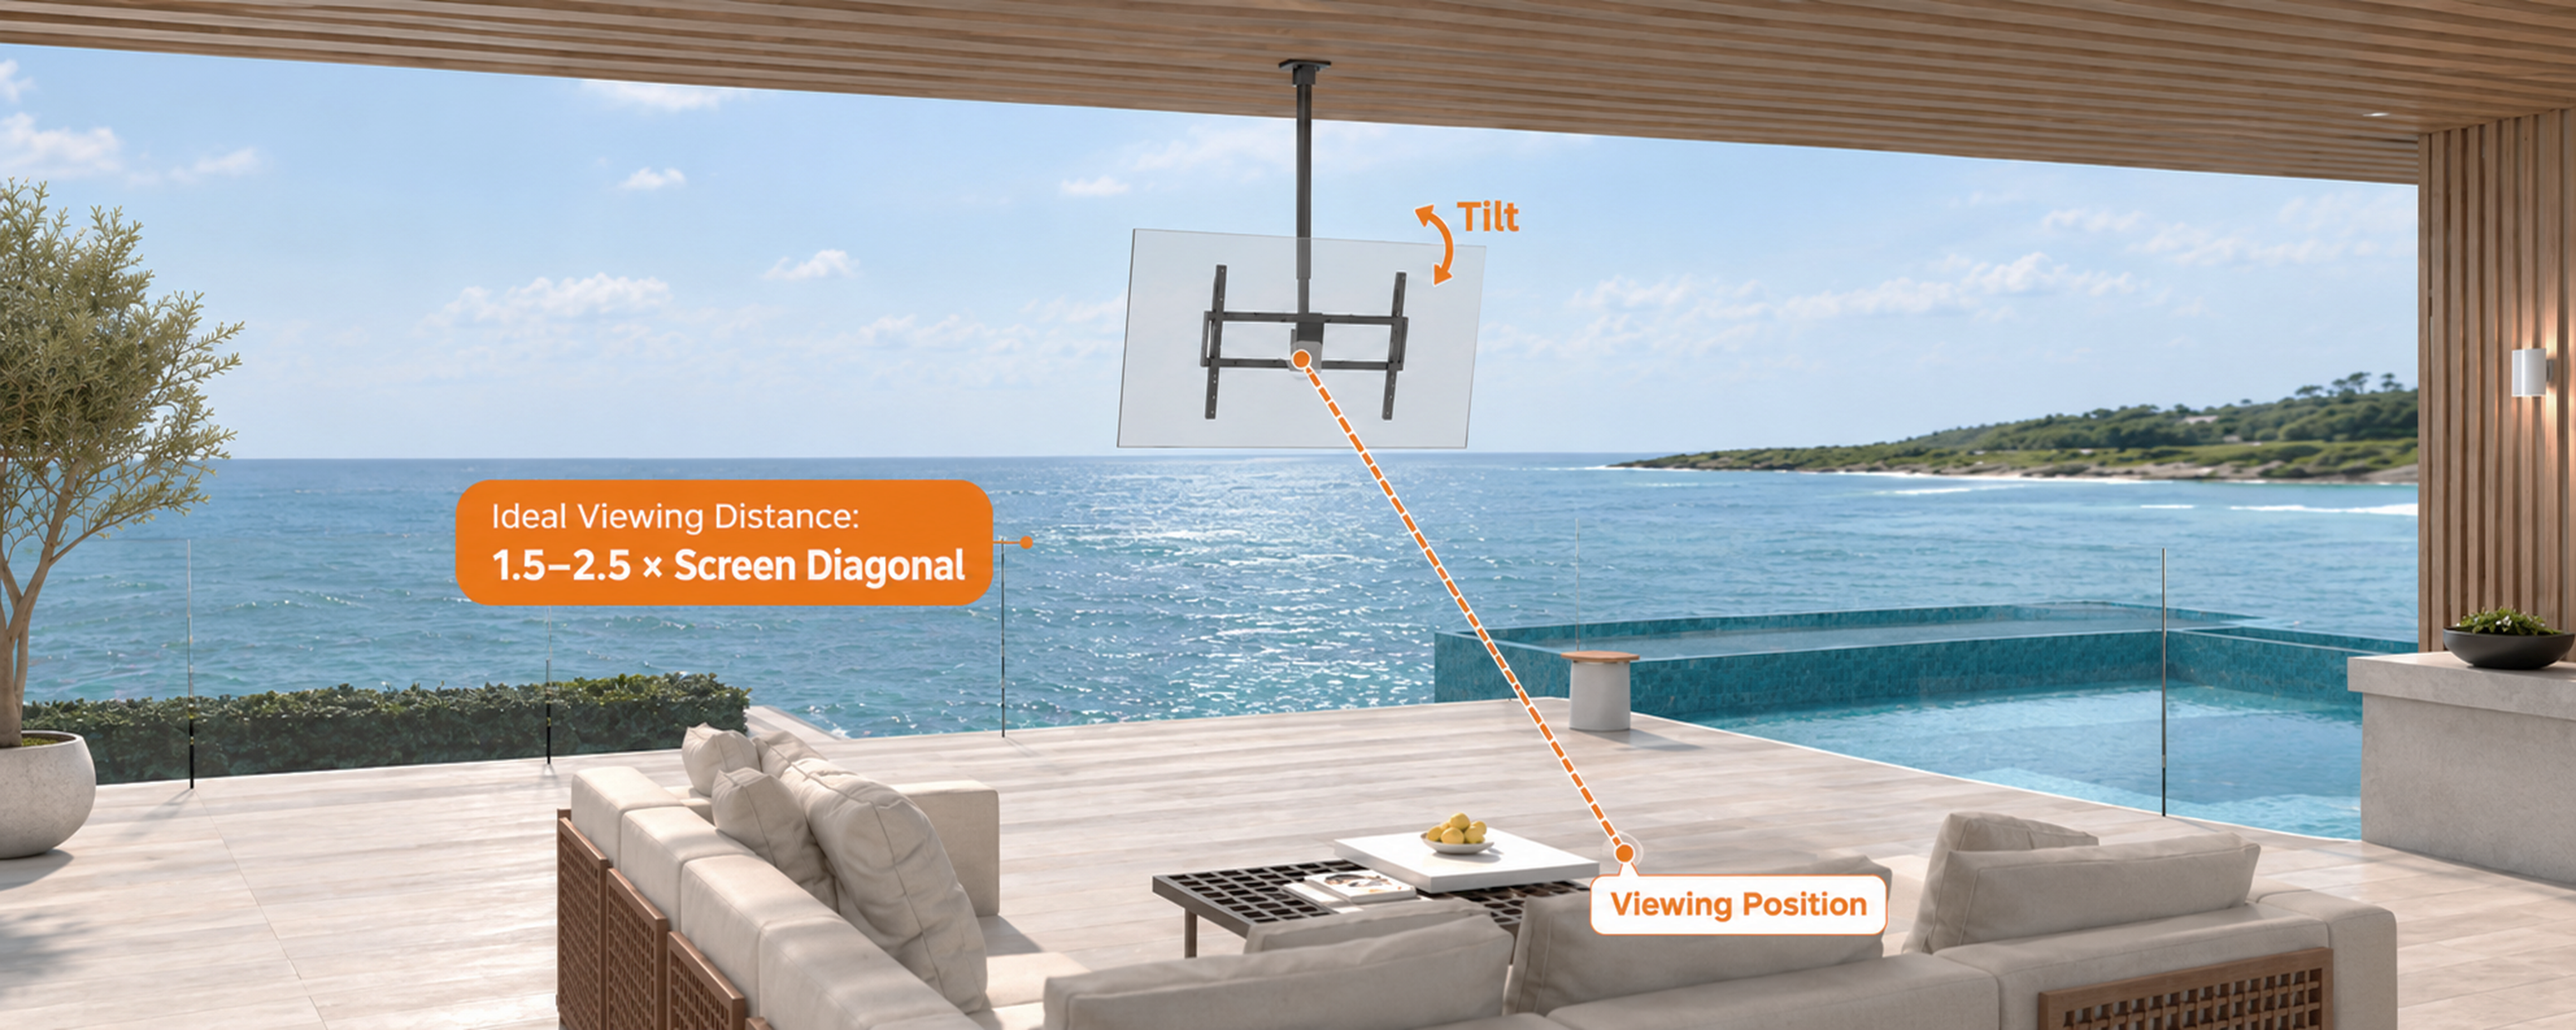
a. Distance from the Sitting Position: As a general guideline, this should be 1.5 to 2.5 times the diagonal of the screen.
b. Avoid Glare: Position the TV so that direct sunlight is avoided.
c. Flexible Tilt and Rotation: If your sitting positions in the room vary, adjustable ceiling mounts are recommended.
(The following picture takes LUMI’s PLB-CE1568L ceiling TV mount as an example.)
3. Mark and Drill the Mounting Holes
Hold the ceiling plate in the selected position and mark each mounting hole accurately. Double-check the measurements before drilling.
Use a drill bit that matches the anchor or fastener specifications. Drill straight and to the required depth. Do not substitute random anchors or screws simply because they fit the holes. The fasteners must be appropriate for both the ceiling material and the load.
4. Secure the Ceiling Plate
Attach the pole to the ceiling plate according to the manufacturer’s instructions. Then, insert the appropriate anchors if required and position the ceiling plate over the mounting holes. Tighten the screws or bolts evenly until the ceiling plate is firmly secured. Do not overtighten the hardware, as excessive force can damage the ceiling material or hardware.
5. Assemble the Mount and Attach the TV Brackets
Assemble the mounting plate and other components. Check the VESA hole pattern and attach the TV brackets to the back of the TV using the correct screws and spacers if needed, tighten all screws securely, but avoid overtightening, which could damage the TV.
6. Hang the TV on the Ceiling Mount
This step should be performed with two people when the TV is large or heavy. Carefully hang the TV on the mount. Make sure every hook, screw, locking tab, or safety mechanism is fully engaged. Never release the TV until you have confirmed that it is securely attached to the mount.
7. Adjust the TV and Manage the Cables
Once the TV is secured, adjust the height, tilt, swivel, and level according to the mount’s available functions. Route the power and signal cables through the mount’s cable management system where available, keeping them clear of moving joints and free from tension during adjustment.
Prefer a visual walkthrough? Watch LUMI's installation animation of the PLB-CE1546S ceiling TV mount to better understand the installation process.
Conclusion
With the right preparation and assembly, you can create a secure, space-saving, and flexible TV setup for movie nights, live sports, and everyday entertainment. From the mounting hardware to clear instructions and installation videos, LUMI provides the essentials to help you install with confidence and enjoy a setup that works for your space.
Explore LUMI’s TV Ceiling Mounts to find the right fit for your setup.